April 22, 2026 · 11 min read
Fix Jagged Edges After Background Removal (2026 Tutorial)
Fix jagged, pixelated, or fringed edges after AI background removal. A practical 2026 guide to clean cutouts — hair, fur, and semi-transparent details.
Even the best AI background remover will occasionally hand you a cutout with jagged edges, color fringes, or that telltale "sticker" look — a hard, pixelated outline that screams "this was cut out." The good news is these problems are almost always fixable in under a minute, and the deeper good news is that 80% of them are preventable at the source. This guide covers both: the fast post-processing fixes, and the upstream habits that mean you rarely need them.
The three edge problems you'll actually encounter
Almost every "bad cutout" complaint falls into one of three categories. The fix is different for each, so the first step is correctly identifying which one you're looking at.
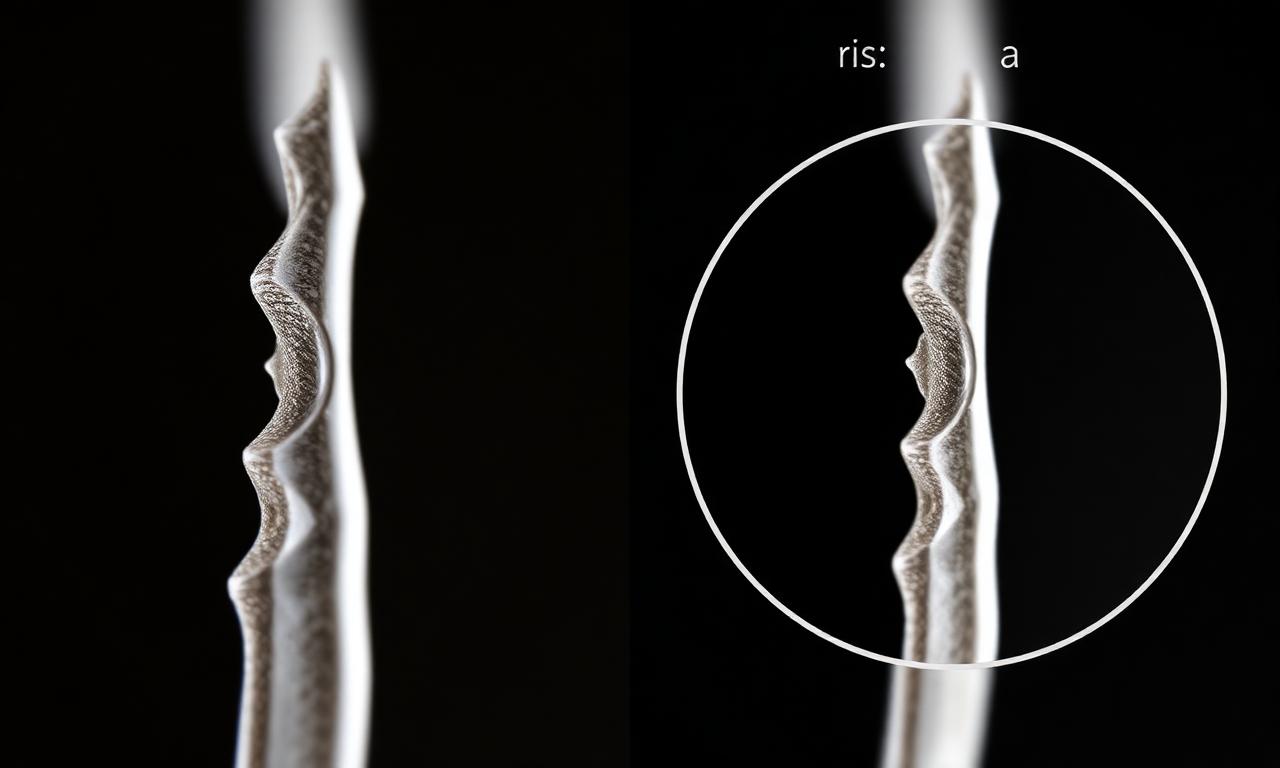
Jagged steps
A clearly stair-stepped pixel pattern around your subject, like an old 8-bit video game character. Cause: the source image was too low resolution for the matting model to produce a smooth edge. The AI picked the right pixels; there just weren't enough of them.
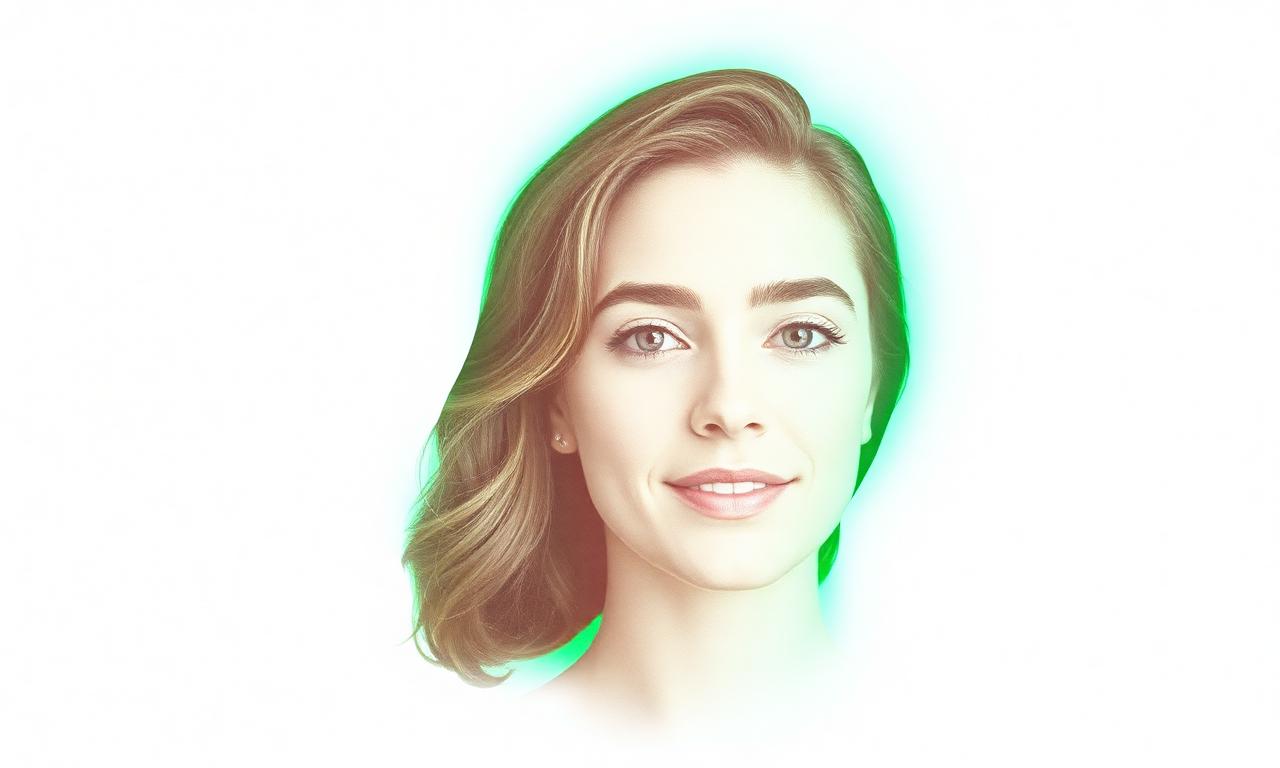
Color fringe (halo)
A thin band of the original background color clinging to the subject — a pink halo around someone photographed against a red wall, a green halo around a model on a grass lawn. Cause: at semi-transparent edges (especially hair), the original pixel was a blend of subject and background. The matting model kept the blended pixel and the subject's "true" color was never recovered.
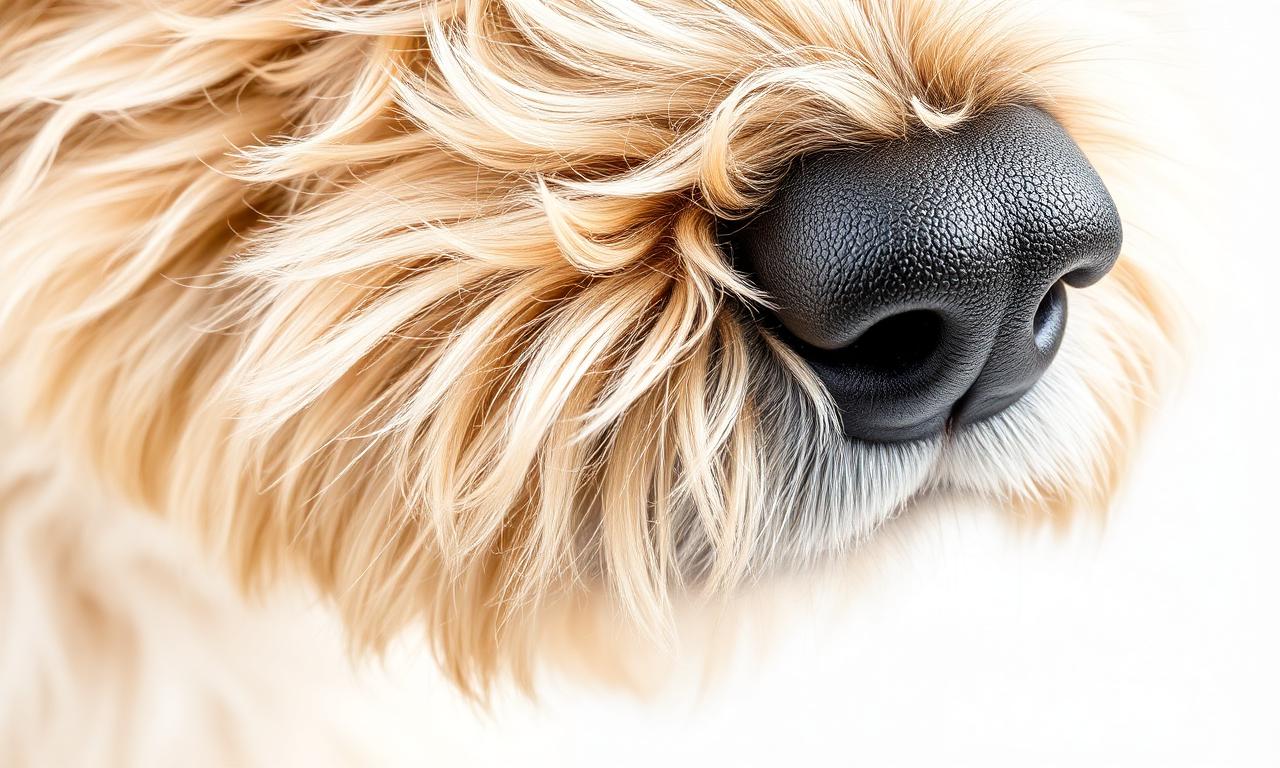
Hard cut against a soft subject
Fur, hair, or feathers that look like they were cut with scissors instead of plucked individually. Cause: a binary segmentation pass without a follow-up matting pass. Common in older or low-quality background removers; rare in 2026-era models like those described in how AI background removal actually works.
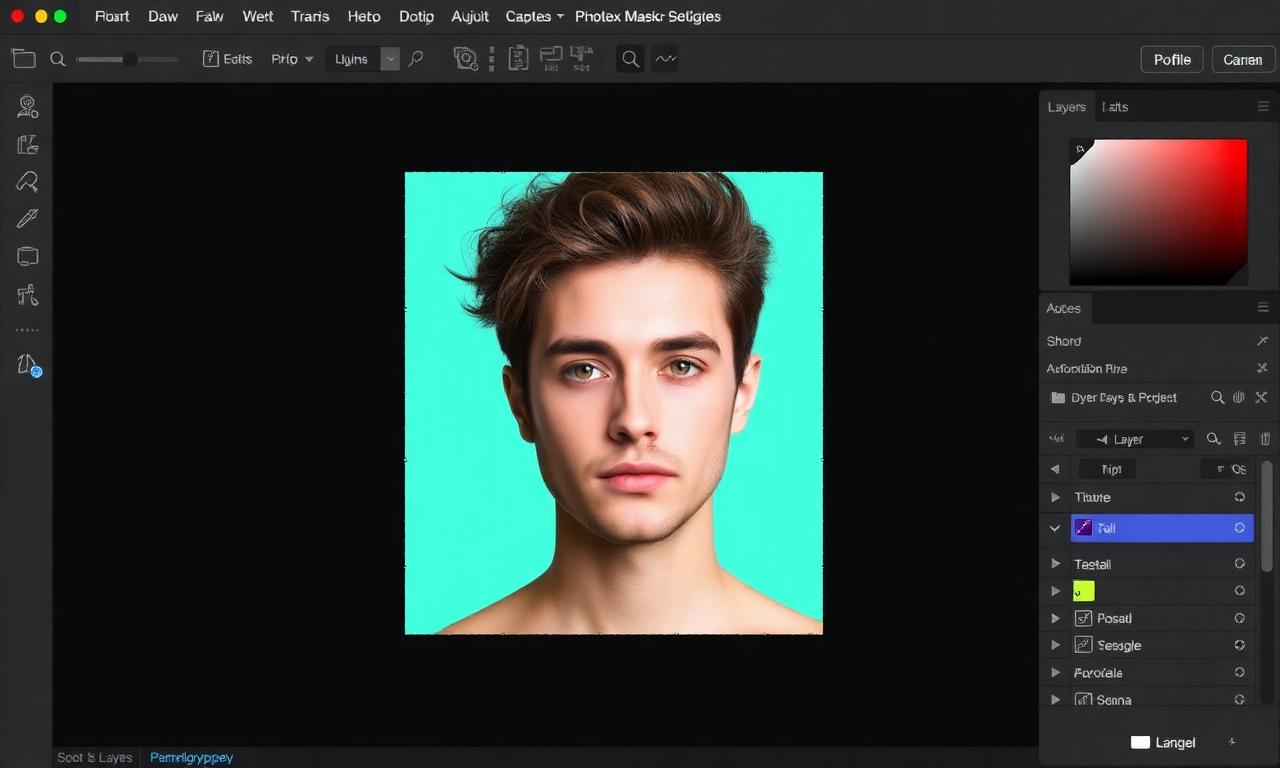
Quick fixes in Photopea (free, browser-based)
Photopea is a free, browser-based clone of Photoshop with essentially the entire layer-mask toolset. It opens .psd, .png, .webp, .jpg, .heic, and even Sketch/Figma files. It is the right tool for cutout cleanup in 2026, and it's free.
Fix 1 — Shrink the mask by 1 pixel
- Open your transparent PNG.
- Right-click the layer → Layer Mask → Reveal Selection. (If your image is already a transparent PNG, the alpha is your mask; you can convert it to a layer mask via Layer → Layer Mask → From Transparency.)
- Select the mask thumbnail.
- Filter → Other → Minimum, set to 1 pixel.
- Optionally: Filter → Blur → Gaussian Blur, 0.5 pixels, to soften the freshly tightened edge.
This is the single highest-leverage fix. It removes about 90% of the visible halos on hard-edged products: bottles, sneakers, electronics, packaging.
Fix 2 — Decontaminate colours (defringe)
For halos around hair or fur, shrinking the mask removes detail you actually want to keep. The right tool is colour decontamination — replacing the contaminated edge pixels with their neighbours' "clean" colours. Photopea exposes this as Layer → Matting → Defringe (1 px). For more control, create a clipping mask and paint over the contaminated edge with the Brush tool set to "Color" blend mode.
Fix 3 — Inner shadow trick
For thin halos that you don't want to spend time precisely cleaning, an inner shadow set to "Color" blend mode at low opacity hides them by darkening the very edge of the subject. Right-click the layer → Layer Style → Inner Shadow, set blend mode to "Color," opacity 30%, distance 0, size 2. Surprisingly effective.
Mobile-only quick fixes
If you're working entirely on iPhone (full workflow in how to remove background on iPhone), Photopea also runs in mobile Safari, but the touch UI is fiddly. Two native iOS apps that handle edge cleanup cleanly:
- Pixelmator Photo — has a "Refine Selection" tool with a built-in defringe slider.
- Affinity Photo 2 — full Photoshop-equivalent on iPad, one-time purchase, no subscription.
Prevention is faster than cure
Spending 30 seconds on a better source image is faster than spending 5 minutes cleaning up edges. The following habits, drawn directly from how segmentation models actually work, prevent most edge issues before they happen.
Start from a 2000+ pixel source
Higher source resolution gives the matting model more information at the boundary. A 4000 px source downsampled to 1000 px after cutout will look dramatically smoother than a 1000 px source that the AI had to work with at native resolution.
Avoid heavy JPG compression on the source
JPEG block artifacts pollute edges with pixels that don't belong to either the subject or the background. The matting model has nothing clean to latch onto. If you have the original PNG, HEIC, or RAW, use it. Re-saving a JPG twice is the difference between a clean cutout and a halo problem.
Shoot against contrast
A red sweater against a red couch is the worst case. Even a one-stop colour difference dramatically improves the cutout. This is also why iOS Portrait Mode produces cleaner cutouts: the depth map gives the model a second signal to work with even when the colours overlap.
Use the highest-quality model your tool offers
Some tools expose a "fast / balanced / high quality" setting. The high-quality option typically swaps a small distilled model for a larger one with more parameters at the matting stage. Three extra seconds of compute is usually worth it for a publication-bound image.
Re-run, don't repaint
AI background removal is deterministic for the same input and the same model. If a particular photo produced a bad cutout, running it again with no changes will produce the same bad cutout. The productive moves are:
- Find a higher-resolution version of the source.
- Crop tighter — the model may segment better with the subject filling more of the frame.
- Adjust contrast or exposure on the source before re-running. A small Levels boost can rescue a marginal cutout.
- Switch to a different tool, which may be running a different model under the hood.
Export format matters
A flawless cutout can still develop edge artifacts when exported to the wrong format. Two rules:
- For master files, export PNG. Lossless, no edge artifacts.
- For web delivery, export lossless WebP, not lossy WebP, when transparency is present. Lossy WebP can introduce subtle halos around alpha edges. We compare the two in detail in PNG vs WebP for transparent images.
When manual cleanup is actually worth the time
Most cutouts: not worth it. Re-run with a better source instead. A few cases where 5–10 minutes of manual mask painting in Photopea pays off:
- Glass, transparent packaging, jewellery with stones — AI matting still struggles, manual is the gold standard.
- Hero images that will be enlarged to billboard size — every pixel is examined.
- Brand guidelines that require pixel-perfect product silhouettes.
- Amazon main images for high-revenue SKUs — see our Amazon listings guide for why these images justify extra effort.
Quick reference cheat sheet
- Jagged steps? Re-export from a higher-res source, or upscale first.
- Color fringe on hair? Photopea → Layer → Matting → Defringe (1 px).
- Color fringe on hard edges? Filter → Other → Minimum, 1 px, then 0.5 px Gaussian Blur.
- Hard "sticker" look? Re-run on a tool with a real matting pass; or feather mask 1–2 px.
- Persistent issues? Replace the source. JPG > HEIC > PNG > RAW in increasing quality.
Get started
Re-process your image on the MagicBG home page with a higher-resolution source. If the result still has fringe, open it in Photopea and run the Minimum + slight Gaussian Blur combo from this guide. Most "bad cutouts" are clean within sixty seconds.