
May 26, 2026 · 10 min read · By MagicBG Team
Last updated: September 24, 2026
Remove Background for Google Slides & PowerPoint (Free AI)
Make Slides and PowerPoint decks look agency-grade: remove image backgrounds with free AI and drop clean transparent PNGs into your slides.
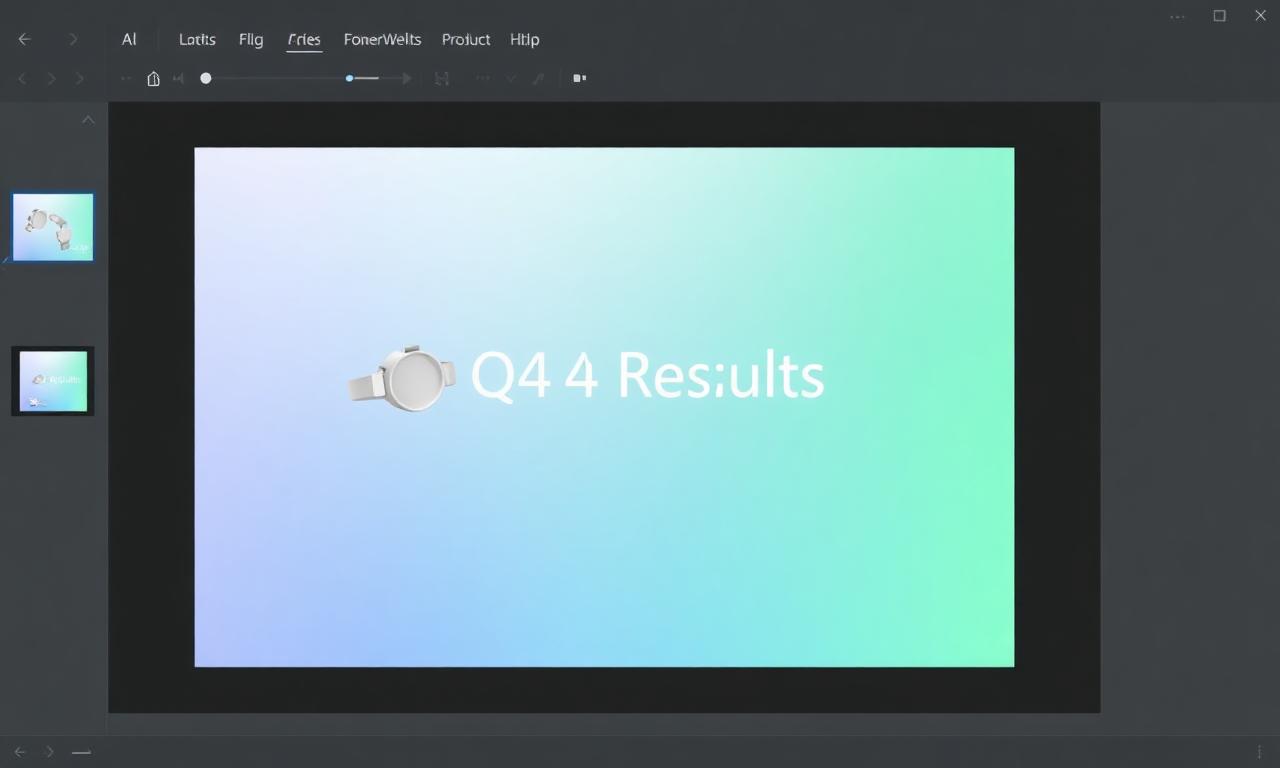
To get rid of the white box around images in Google Slides or PowerPoint, remove the image background, save it as a transparent PNG, and insert it with Insert → Image (Slides) or Insert → Pictures (PowerPoint). Below are the exact steps for each app, plus the settings that stop transparency from being lost on save or export.

Two workflows that work
You have two practical options to get a transparent image into a presentation: the slide editor’s built-in feature, or a separate background remover whose PNG you then insert.
1. Built-in “Remove background” inside the slide editor
PowerPoint has shipped a built-in Remove Background command for many versions, and it has improved over time. It lives under Picture Format → Remove Background, gives you a magenta overlay showing what will be deleted, and offers manual mark-keep / mark-remove brushes for cleanup. Google Slides has a similar one-click Remove image background option on some paid Workspace tiers — right-click the image and look for it in the menu. Availability depends on your edition, so check your own account rather than assuming it is there.
- Pros: zero extra apps, zero file shuffling, edits live inside the deck.
- Cons: the Slides feature is limited to certain paid Workspace tiers; the built-in tools can struggle with hair, fur, and translucent objects.
2. A separate background remover, then insert the PNG
Cut the subject out with a tool such as MagicBG (see how AI background removal works), download the transparent PNG — the free tool exports up to 1024 px on the longest side, which is enough for most on-slide images — and insert it into your deck.
- Pros: free, no signup, no watermark, works with any slide editor.
- Cons: two-step workflow (cut out, then insert); you handle file management yourself.
The 30-second recipe (copy this into every deck)
Once you have decided on a tool, the recipe never changes. Print this section and pin it next to your monitor.
- Step 1. Drop your JPG or PNG into MagicBG.
- Step 2. Wait two to five seconds while the AI isolates the subject.
- Step 3. Click Download PNG to save the transparent cutout.
- Step 4. In Google Slides, choose Insert → Image → Upload from computer. In PowerPoint, choose Insert → Pictures → This Device.
- Step 5. Resize, align, send to back or front, repeat for every image in the deck.
On a 20-slide deck with eight images, the entire process takes about four minutes from start to finish. The visual lift is roughly equivalent to spending two hours with a junior designer.
Google Slides specifics
Google Slides handles transparent PNGs flawlessly as long as you upload them directly. Do not paste from a clipboard if you can avoid it — Google Drive sometimes re-encodes pasted images as JPEG and quietly fills your transparency with white. Use Insert → Image → Upload from computerto keep the alpha channel intact. For pixel-precise alignment, hold Shift while dragging corner handles to preserve aspect ratio and turn on View → Snap to → Guides.
If you reuse the same cutout across slides, paste it once and then duplicate with Ctrl/Cmd + D— the second copy stays linked to the same underlying image in Drive, which keeps your deck file size small. Decks with twenty heavy 4K photos can easily balloon past 100 MB, and Google Slides starts to chug above that threshold even on a 2026 MacBook.
PowerPoint specifics
PowerPoint respects PNG transparency natively in every version since 2010, including the web app and the iPad app. Two settings worth knowing: under File → Options → Advanced → Image Size and Quality, set the default resolution to 330 ppi or High fidelity, and tick Do not compress images in file. Without these two settings, PowerPoint silently down-samples your transparent PNGs the next time you save, and a beautifully clean cutout starts to look pixelated after one or two save cycles.
For exporting a final PDF — the format most clients actually open — go through File → Export → Create PDF/XPS Document → Options and pick ISO 19005-1 compliant (PDF/A)only if your client requires it; otherwise the standard PDF preserves transparency and rasterization best. Decks exported to PDF/A flatten transparency and can introduce thin white halos around cutouts.
Handling hair, fur, and glass
The three hardest categories for any background remover are hair, fur, and transparent or reflective objects (wine glasses, headphones with mesh, eyewear). 2026 models handle all three far better than the 2020 generation, but they are still where bad cutouts happen.
- Hair and fur: shoot or pick a source photo with a contrasting background. Light hair on a light wall is the worst case; light hair on a dark wall is trivial.
- Glass: expect the AI to keep the silhouette but lose internal transparency. For a wine glass on a dark slide, this is usually fine. For a glass on a colored slide, do a quick manual pass in Photopea (free, browser-based) to recover the inside.
- Eyewear: the model usually keeps the lenses opaque. If you need to see through them to skin, mask the lenses manually with the Photopea eraser at 40% opacity.
If a cutout has jagged edges, our companion guide on fixing jagged edges after background removal walks through the three-step feather-and-defringe recipe that fixes most cases in under a minute.
Drop shadows and glow — use them sparingly
A common temptation after dropping a clean transparent PNG into a slide is to add a Slides or PowerPoint drop shadow to “ground” the subject. In moderation this works. The default shadow presets in both apps in 2026 are unfortunately still too harsh — black at 70% opacity with a large offset, which screams 2003 PowerPoint clip-art. Override to 20% opacity, 4 px blur, 0 px offset for a modern soft halo, or skip the shadow entirely on photographic backgrounds.
Use cases where this matters most
- Sales decks: product hero shots that survive against any brand background.
- Pitch decks: founder and team headshots on the team slide, with no jarring white boxes.
- Webinars and online courses: instructor cutouts overlaid on slide content for a TV-news look.
- School and university lectures: historical figures, anatomical diagrams, and lab equipment on themed slides.
- Conference talks: sponsor logos that adapt to the venue’s LED wall color.
- Internal town halls: employee photos for recognition slides on a colored brand background.

Keeping deck performance fast
Transparent PNGs are larger than equivalent JPGs because the alpha channel is uncompressed. A 4K transparent PNG can run 6–10 MB; a 4K JPG of the same photo is closer to 1 MB. For a 20-image deck this matters. Two habits keep decks fast:
- Resize before exporting. Slides are 1920×1080 (16:9) at presentation resolution. There is zero reason to import a 6000×4000 PNG. Resize to roughly 2× the on-slide display size before uploading.
- Stick to PNG for transparent slide images. Google’s own Slides documentation lists PNG, JPEG and GIF as the supported image formats (Slides API reference), so PNG is the safe choice when you need transparency. WebP support in desktop Office and Slides varies by version, so test before you rely on it — our guide on PNG vs WebP for transparent images covers the trade-offs.
Working on confidential slides? How MagicBG handles your images is explained in our AI policy.
Quick FAQs
Does Google Slides support transparent PNGs?
Yes, fully, in every Google Slides tier including the free personal account. The trick is to upload the file through Insert → Image → Upload from computer rather than paste it from the clipboard, which preserves the alpha channel reliably.
Does PowerPoint flatten transparency on export?
Not on PNG, JPG with background, or standard PDF export. PowerPoint does flatten transparency when you export to PDF/A or to legacy PowerPoint 97-2003 format. Stick to modern PDF for client delivery.
Will the AI keep my company logo if I include it in the photo?
Yes. The segmentation model treats logos printed on products, t-shirts, and packaging as part of the subject and preserves them perfectly. The same applies to text on labels and badges.
Bottom line
In 2026 there is no excuse for a deck full of white rectangles. Free in-browser AI background removal turns every photo into a transparent PNG in under five seconds, runs entirely on your device, and drops straight into Google Slides or PowerPoint with zero rework. Open MagicBG, cut out your hero image, paste it onto your next slide, and the entire deck will look like a designer touched it. If your decks also feed into thumbnails, social posts, or listings, the same transparent PNGs slot directly into YouTube thumbnails, LinkedIn headshots, and Shopify product photos with no extra editing.
Where this fits in the workflow
Decks get heavy fast. Keep each transparent PNG in check with the compressor, and use the converter if your slide tool prefers a different format.
Selling this photo on Amazon, Etsy, eBay, Walmart or another marketplace? MagicBG's Complete Listing Generator turns a single product photo into a full marketplace-ready listing — optimized images, title, bullets, description and keywords.