June 7, 2026 · 12 min read
How to Make Background Transparent in Canva (2026 Step-by-Step Guide)
Learn how to make a background transparent in Canva step by step in 2026 — plus the free, faster alternative when Canva's background remover is locked behind Pro.
Canva is one of the most popular design tools in the world, and one of the most common questions new users ask is how to make a background transparent in Canva. Whether you are building a logo, designing a product mockup, creating a YouTube thumbnail, or preparing a sticker, a transparent background lets your subject sit cleanly on any color, photo, or layout. The good news is that Canva makes this possible in just a few clicks. The catch is that the one-click Background Remover is a Canva Pro feature — so this guide also shows you a completely free alternative that takes seconds and never adds a watermark.
What a transparent background actually means
A transparent background is an image where the area behind your subject contains no color at all. Instead of white, black, or any solid fill, those pixels are simply empty. This is stored in an image format that supports an alpha channel — most commonly a PNG. When you place a transparent PNG into a design, the empty areas let whatever is underneath show through, so your subject appears to float seamlessly over any background.
This matters because a logo with a white box around it looks unprofessional on a colored website header, and a product photo with a cluttered background distracts buyers. Removing the background gives you total flexibility: the same cutout can be dropped onto a brand color, a gradient, a photo, or a printed t-shirt without any visible seams. Understanding this is the foundation of everything that follows in Canva.
How to make a background transparent in Canva (step by step)
Canva offers two distinct tasks people confuse: removing the background from a photo (cutting out a subject) and exporting a design with a transparent background. We will cover both, because most people actually need one specific outcome. Let's start with the most requested one — removing the background from an uploaded image.
Step 1: Open or create your design
Log in to Canva and either start a new design or open an existing one. Click Uploads in the left sidebar, then upload the photo you want to edit. Drag it onto your canvas so it appears as an editable element. For best results, start with the highest-resolution version of your image you have — Canva's AI works with the pixels you give it, so a sharp original produces a much cleaner cutout.
Step 2: Select the image and open Edit photo
Click once on the image to select it. A toolbar appears at the top of the editor. Click Edit photo (in older versions this was labeled "Edit image"). A panel slides out on the left showing all the available editing tools, effects, and adjustments.
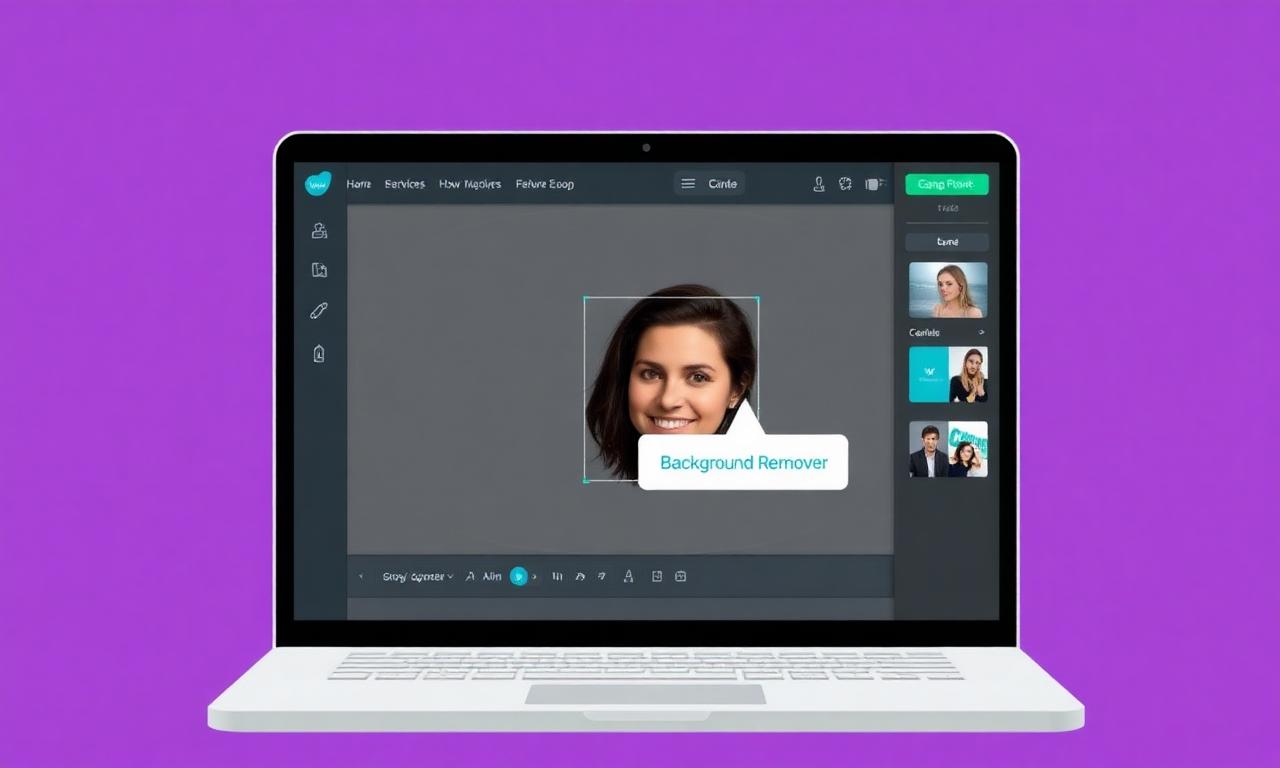
Step 3: Click Background Remover
In the Edit photo panel, look for the Background Remover tool, usually near the top under "Effects" or "Tools." Click it. Canva's AI analyzes the image, detects the main subject, and erases everything behind it in two to four seconds. The background is replaced with a transparent checkerboard pattern, which is Canva's way of showing you the area is now empty.
Important: Background Remover is a Canva Pro feature. If you are on a free account, clicking it will prompt you to start a paid trial or upgrade. We cover the free workaround in the next section, so keep reading if you don't want to subscribe.
Step 4: Refine the edges (optional)
After the automatic removal, Canva lets you fine-tune the result with the Erase and Restore brushes inside the Background Remover panel. Use Erase to clean up stray bits of background the AI missed, and Restore to bring back parts of the subject that were accidentally cut away — common around hair, fingers, or thin objects. Zoom in for precision and adjust the brush size for delicate areas.
Step 5: Download as a transparent PNG
When you are happy with the cutout, click Share in the top-right corner, then Download. In the file type dropdown, choose PNG. A checkbox labeled Transparent background appears — tick it. This option is also Pro-only. Click Download and Canva saves a PNG with no background, ready to use anywhere.

How to export a whole Canva design with a transparent background
Sometimes you don't want to cut out a photo — you want your entire design (a logo, an icon, a graphic with text) to have no background at all. This is slightly different from the Background Remover tool.
- Make sure your canvas has no background color or background image. If it does, click an empty area, then click the color tile and select the transparent or "no fill" option.
- Click Share > Download.
- Set the file type to PNG.
- Check the Transparent background box.
- Click Download.
Your design exports with everything except the actual design elements removed, giving you a clean transparent graphic. This is the standard method for exporting logos and badges that need to sit on different colored surfaces.
The free alternative when Canva is locked behind Pro
Here is the reality most tutorials skip: both Canva's Background Remover and the transparent PNG export require a paid Canva Pro plan, which costs roughly fifteen dollars per month. If you only need to remove a background occasionally, paying a monthly subscription makes little sense. That is where a free, browser-based transparent background maker comes in.
With MagicBG, you can remove a background and download a transparent PNG in seconds — completely free, with no watermark, no signup, and no daily limit. The AI runs locally in your browser using WebGPU, which means your photo never uploads to a server and your privacy stays intact. The workflow is even simpler than Canva:
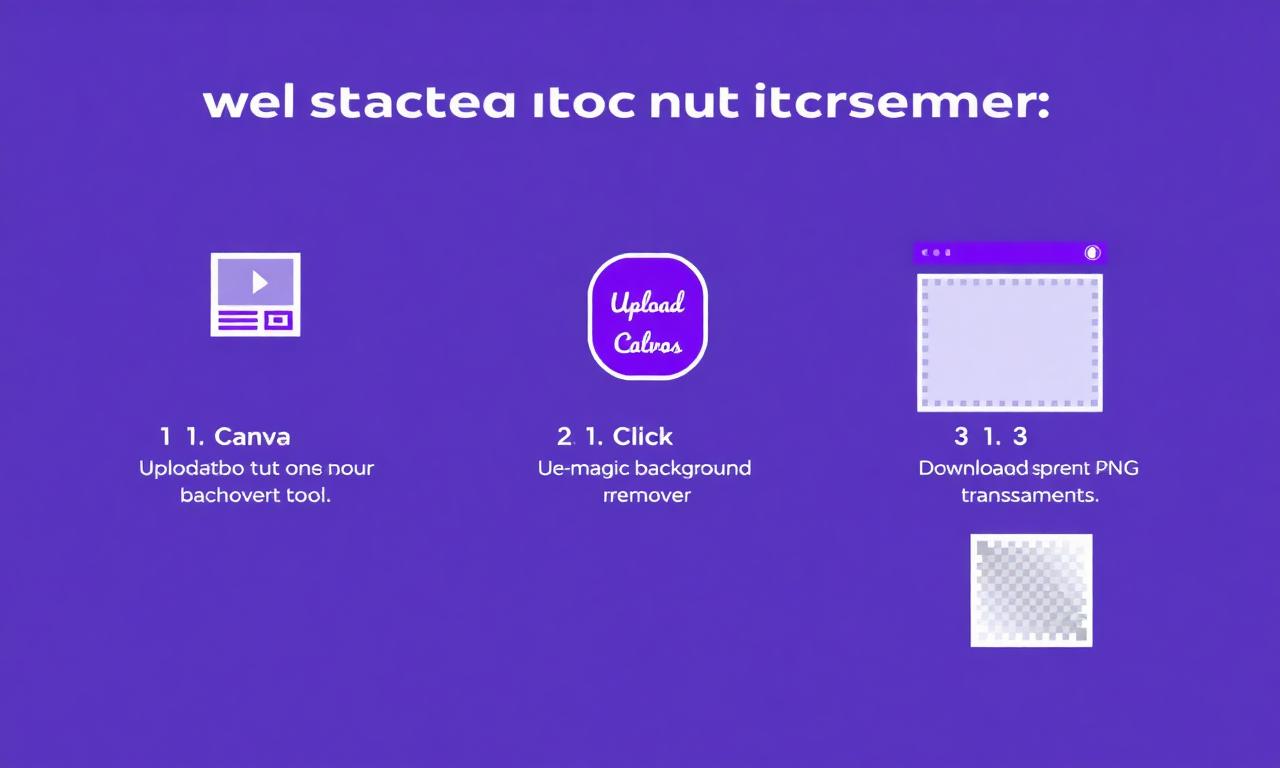
- Upload your image. Drag any JPG, PNG, or WebP file into the browser window.
- Let the AI process. The segmentation model isolates the subject and removes the background in two to four seconds.
- Download the transparent PNG. The output keeps the full resolution of your original — only the background is removed.
You can then import that transparent PNG straight back into Canva via the Uploads panel and continue designing — getting the best of both tools without paying for Pro. If you want a deeper look at the technology, read our explainer on how AI background removal works.

Tips for the cleanest cutout in Canva
No matter which tool you use, the quality of your result depends heavily on the photo you start with. These habits make the AI's job dramatically easier.
- Start with high resolution. A small, low-quality image produces blurry edges. Always upload the largest version you have.
- Shoot with contrast. A subject that stands out clearly from its background — a dark jacket against a light wall — gives the cleanest mask. Avoid same-color situations like a white shirt on a white background.
- Use even lighting. Harsh shadows that blend into the subject confuse edge detection. Soft, diffused light produces crisper outlines.
- Avoid motion blur. A sharp, in-focus subject always cuts out better than a blurry one. Steady the camera or use a faster shutter speed.
- Mind the hair and fur. Fine strands are the hardest part of any cutout. Photos with hair against a plain, contrasting background give the best results; busy backgrounds create stray pixels.
Common mistakes when making backgrounds transparent in Canva
Even with the right tool, a few avoidable errors trip up new users. Here is what to watch for.
Forgetting to check the Transparent background box
The single most common mistake is downloading a PNG without ticking the Transparent background option. Without it, Canva fills the empty area with white, and your "transparent" image isn't transparent at all. Always confirm the checkbox is enabled before clicking Download.
Exporting as JPG instead of PNG
JPG files cannot store transparency — the format simply has no alpha channel. If you export as JPG, the background becomes a solid color, usually white. For any transparent image, always choose PNG (or WebP if your destination supports it). See our comparison of PNG vs WebP for transparent images to pick the right one.
Leaving a background color on the canvas
When exporting a whole design, people often forget that the canvas itself has a background fill. If your canvas is set to white or any color, that color exports even with the transparent box checked. Remove the canvas background fill first.
Ignoring edge fringing
Sometimes a faint halo of the original background color clings to the subject's outline. This fringing is most visible when you place the cutout on a contrasting color. Use the Erase brush to trim the outline, or re-process the image with a tool that includes edge decontamination. Our guide on fixing jagged edges after background removal walks through the fix in detail.
What to do with your transparent image
Once you have a clean transparent PNG, the possibilities open up. Here are the most popular uses among Canva designers in 2026.
Logos and brand assets
A transparent logo works on a dark website header, a light business card, and a colored t-shirt without any white box ruining the look. Designers keep the transparent PNG as the master file for every future use. Learn more in our guide on removing the background from a logo.
Product photos for online stores
Marketplaces like Amazon and Etsy reward clean, consistent product images. A transparent cutout lets you place every product on a uniform white or branded background, which lifts click-through and conversion rates. See our ecommerce product photo guide for the full workflow.
YouTube thumbnails and social graphics
The highest-performing thumbnails feature a cut-out subject layered over a bold background. A transparent PNG is the starting point for that composition. Read our YouTube thumbnail guide for design tips that boost click-through.
Stickers and overlays
Transparent PNGs are the native format for stickers on WhatsApp, Telegram, and social platforms. Cut out your subject, export as PNG, and you have a ready-to-share sticker. Our WhatsApp stickers guide shows the exact steps.
How to make background transparent in Canva FAQ
Is making a background transparent in Canva free?
No. Canva's Background Remover and the Transparent background download option both require a paid Canva Pro subscription. For a free alternative, use MagicBG to remove the background and export a transparent PNG with no watermark, then import it into Canva.
Why is my Canva background not transparent after download?
The most common cause is forgetting to tick the "Transparent background" checkbox in the download dialog, or exporting as JPG instead of PNG. JPG cannot store transparency, so always choose PNG and confirm the transparent option is enabled.
How do I remove the background from a photo in Canva for free?
Canva itself requires Pro for this, but you can remove the background for free in your browser with MagicBG in a few seconds, then upload the resulting transparent PNG back into Canva via the Uploads panel.
Can I make a background transparent in the Canva mobile app?
Yes, the Background Remover and transparent PNG export are available in the Canva mobile app, but they still require a Canva Pro subscription. MagicBG also works in mobile browsers like Safari and Chrome for a free option.
What format should I use for a transparent image?
Use PNG for the widest compatibility — every browser, editor, and platform supports transparent PNG. WebP also supports transparency at smaller file sizes if your destination accepts it. Never use JPG for transparent images.
Bottom line
Making a background transparent in Canva is straightforward: select your image, open Edit photo, click Background Remover, refine the edges, and download as a PNG with the transparent option checked. The only real obstacle is that these features sit behind Canva Pro. If you don't want to pay a monthly subscription for occasional cutouts, a free browser tool like MagicBG removes backgrounds in seconds with no watermark and no signup — and the transparent PNG drops straight back into Canva for the rest of your design work.